 Bellingham Siding
 Building New in Sunnyland? Get the Windows Right the First Time
When a home in Sunnyland is framed and ready for windows, that installation is a one-shot job. Unlike a replacement window going into an existing opening, new-construction windows are set before the siding, house wrap, and trim go on — which means the flashing details done at this stage are what protect the wall assembly for the next several decades. Get it right and the home stays dry and efficient. Get it wrong and the problems stay hidden behind finished walls until a leak shows up, often years later and far more expensive to trace and fix.
Sunnyland is a settled residential neighborhood inside Bellingham city limits, in Whatcom County, with a mix of older homes and newer infill and remodel construction. Whether you're framing a new build or doing a major addition that involves fresh rough openings, the window installation itself deserves the same attention as the foundation or the roof — it's structural weather protection, not just a fixture.
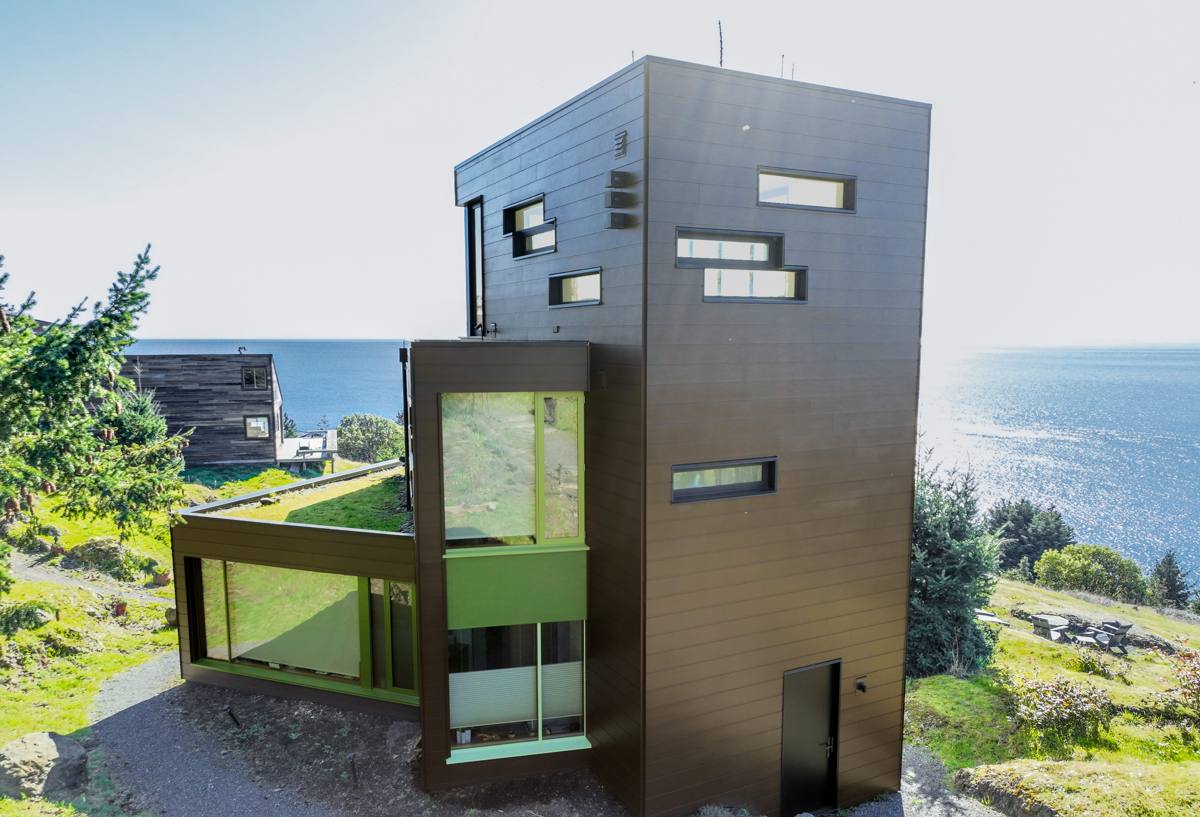
What Bellingham's Climate Asks of a Window Installation
Bellingham sits close enough to Puget Sound and the Strait of Georgia that salt-laden marine air is a real factor on window hardware and finishes, even a few miles inland. Combine that with the region's long stretch of driving rain — wind-driven, sideways rain rather than gentle vertical rainfall — and you get conditions that punish any gap in flashing or sealant. Add Whatcom County's extended moss and mildew season, when shaded, damp surfaces stay wet for weeks at a time, and you have three separate stresses working on the same window opening year-round.
- Salt air: accelerates corrosion on lesser-grade fasteners, cheap balance hardware, and unprotected metal flashing.
- Driving rain: tests every lap, seal, and pan detail — water finds any shortcut in the flashing sequence, not just gaps at the glass.
- Moss and moisture season: keeps sills, sashes, and trim damp for long stretches, which is exactly the environment that rots wood trim and breeds mildew on finishes that aren't rated for it.
None of these are exotic problems. They're just the normal cost of building in this part of Washington, and a correct installation is designed around them from the start rather than patched later.
New-Construction vs. Replacement Windows — Why the Distinction Matters
New-construction windows use an integral nailing fin that gets fastened directly to the sheathing before the water-resistive barrier (WRB) and siding are installed. That fin is the backbone of the flashing system. Replacement or "pocket" windows, by contrast, are designed to slide into an existing frame with no fin, relying on the old frame and interior/exterior trim for weather protection. Using the wrong type — or treating a new-construction window like a retrofit because it's faster — is one of the more common shortcuts we see and correct.
| Factor | New-Construction (Nail-Fin) Window | Replacement (Pocket) Window |
|---|---|---|
| Best used when | Framing is open, sheathing exposed | Existing frame is sound, siding stays intact |
| Flashing method | Fin integrates with WRB and sill pan | Relies on old frame + sealant, less redundancy |
| Long-term weather protection | Highest, if sequence is followed correctly | Adequate, but no true drainage plane |
| Where it fits on this project | Standard for new builds and additions in Sunnyland | Not typically appropriate for open framing |
For a genuine new-construction project — new framing, exposed sheathing — the nail-fin window paired with proper flashing is the correct approach almost every time. It gives the wall assembly a real drainage plane instead of relying on caulk alone to keep water out.
What a Correct New-Construction Installation Actually Involves
The window unit itself is only part of the job. The sequence around it is what determines whether the opening stays dry. A rushed crew can hang the same window as a careful one and still leave the wall vulnerable, because the difference is in the layers most people never see again once siding goes up.
The Flashing Sequence, Step by Step
- Rough opening checked for square, level, and correct dimensions before the window ever shows up on site.
- A sloped sill pan installed at the bottom of the opening, so any water that gets past the window drains back out and down the WRB, not into the framing.
- Window set, shimmed level and plumb, and fastened per the manufacturer's schedule — not just a few nails to hold it in place.
- Nailing fin taped or flashed with a self-adhering membrane, integrated with the WRB in the correct shingle-lap order: sill first, then jambs, then head, so every layer sheds water onto the layer below it.
- Head flashing installed above the window with a drip cap detail so water is directed out and away rather than pooling against the top of the frame.
- Interior and exterior sealant applied at specified points only — over-sealing can trap moisture instead of releasing it, which is a real problem in a climate this wet.
Skip or shortcut any one of these steps and the window can look fine for years while water works its way into the sheathing behind it. That's the nature of envelope failures — they're invisible until they're expensive.
A Quick Checklist for Homeowners and Builders
- Sill pan present and sloped to drain, not flat or reverse-sloped.
- Flashing tape lapped correctly — bottom to top, like shingles — with no reverse laps.
- Head flashing or drip cap installed above every exterior window.
- Fasteners rated for coastal/marine exposure, not bare steel that will streak or corrode.
- Sealant used only at manufacturer-specified joints, with weep paths left open.
- Rough opening dimensions verified against the actual window schedule before install day.
Choosing Window Materials and Glass for Sunnyland's Exposure
Material choice matters more here than in a drier, milder climate, because whatever you choose will spend a good part of the year damp and occasionally salted by marine air. There's no single "best" material for every project — it depends on budget, maintenance appetite, and how exposed the elevation is.
| Material | How It Handles This Climate | Maintenance |
|---|---|---|
| Vinyl | Good moisture and corrosion resistance; won't rot | Low — occasional cleaning |
| Fiberglass | Very stable dimensionally, handles temperature swings and moisture well | Low |
| Wood-clad | Attractive interior wood look, but exterior cladding must be well-sealed against driving rain | Moderate to higher — watch joints and finish over time |
| Bare aluminum | Prone to condensation and corrosion issues in salt-influenced air without upgraded finishes | Higher — not our default recommendation for this area |
On glass, a dual-pane, low-E unit with a warm-edge spacer is the practical standard for this region — it manages both our mild-but-persistent damp cold and the condensation risk that comes with it. For homes with more direct wind or rain exposure, we'll talk through upgraded weatherstripping and higher-performance glass packages rather than defaulting to the cheapest option on the schedule.
Our Process, From Plans to Final Walkthrough
On a new-construction job, timing with the framing and siding schedule matters as much as the install itself. Our process is built around that coordination:
- Plan review: we go over the window schedule and rough opening sizes against the actual framing before ordering, so there are no surprise mismatches on install day.
- Site walk: we check the exposure of each elevation — which walls take the most driving rain and wind — and flag any that warrant extra flashing attention or upgraded glass.
- Coordinated install: windows go in at the correct point in the framing sequence, before siding closes up the wall, following the flashing order above.
- Inspection-ready documentation: we install in a way that holds up to local inspection and, just as important, to your own eyes if you ever open the wall later.
- Final walkthrough: every window operates smoothly, seals correctly, and is checked against the plan before we call the job done.
Mistakes We See — and Build Our Process to Avoid
Most window problems we get called to look at later trace back to a handful of repeatable shortcuts: skipped sill pans, reverse-lapped flashing tape, fasteners that aren't rated for the exposure, or sealant used as a substitute for proper flashing instead of a backup to it. None of these save meaningful time on install day, but they all show up later as staining, soft trim, or interior moisture — usually well after the crew that installed them has moved on. We build our sequence specifically so those shortcuts aren't an option, not because any one product is bad, but because this climate doesn't forgive corner-cutting the way a drier region might.
Why a Crew That Already Works Sunnyland Matters
New-construction window flashing isn't a one-size-fits-all detail — it needs to match the specific WRB, siding type, and exposure of the home. A crew that regularly works in Bellingham and around Whatcom County already knows how local wind-driven rain behaves against different elevations, what fastener and flashing tape combinations hold up to marine air over time, and how long moss-season dampness lingers on north- and shade-facing walls. That local pattern recognition is the difference between a window install that's technically installed and one that's actually built for where it sits.
It also matters for accountability. A local crew is easy to reach if a question comes up during framing, during a later remodel, or years down the line when you're trying to understand what's behind a wall. We're not passing through — Sunnyland and the rest of Bellingham are where we do this work day in and day out.
If you're framing new construction or planning an addition in Sunnyland and want the window openings done right the first time, we're happy to walk the site, review your window schedule, and answer questions with no pressure and no obligation. Reach out using the form below for a free estimate.