 Bellingham Siding
 New-Construction Windows in York: Getting the Opening Right the First Time
When a home in York is being built new, added onto, or has its wall opened up for a remodel, the windows going in aren't just picked off a shelf — they're built into the wall as part of the water-management system. New-construction windows have a nailing flange that gets integrated with the house wrap, flashing, and siding before anything is closed up. Get that sequence right and the window will hold up for decades. Get it wrong and you won't know it until water shows up somewhere it shouldn't, often years later and often nowhere near the window itself.
This page is specifically about new-construction window installation for York — not window replacement in an existing opening, which is a different job with different rules. If your project involves a wall that's already open, framed, or about to be framed, this is the right service.
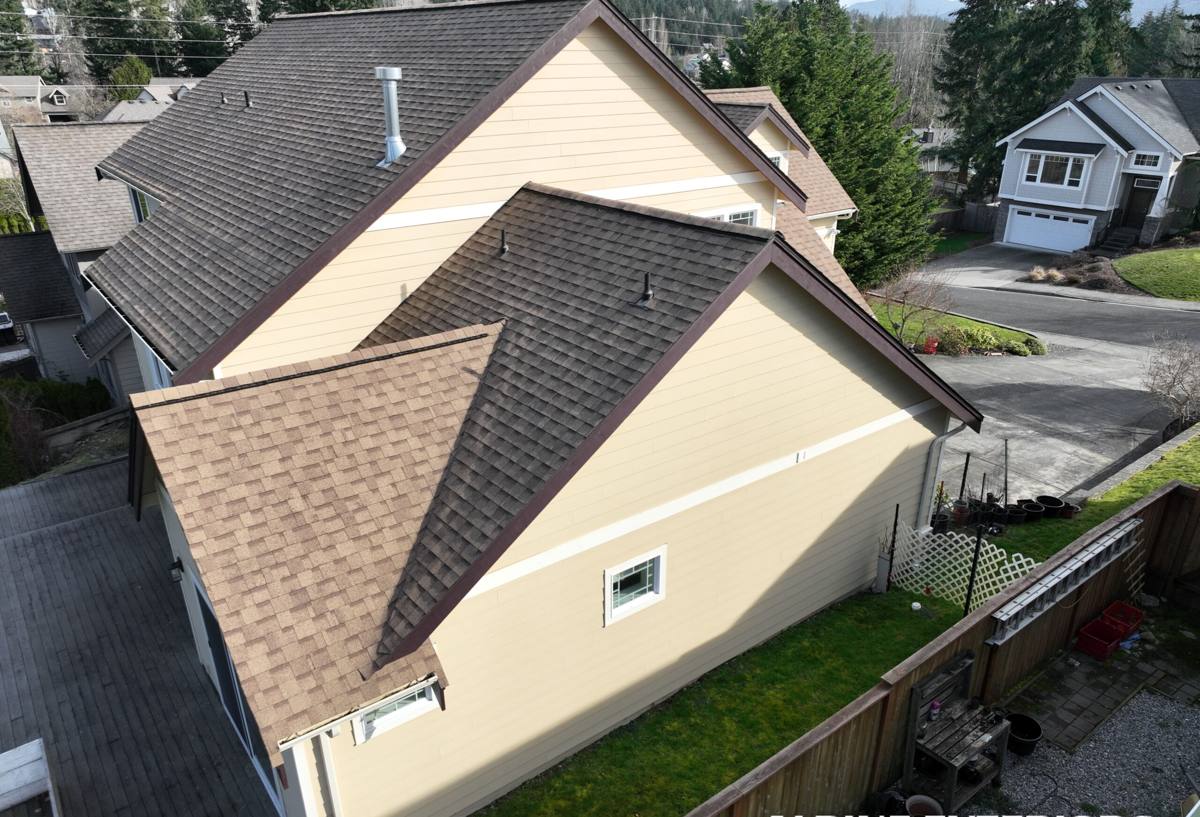
What Bellingham's Climate Does to a Window Opening
York sits close enough to the water that salt air is a real factor in material choices, not a theoretical one. Add Whatcom County's driving rain — wind-driven, sideways rain rather than the gentle straight-down kind — and a long moss and algae season that keeps siding and trim damp for months at a stretch, and you've got a climate that punishes shortcuts around window openings more than most.
Three things matter most here:
- Wind-driven rain pushes water sideways and upward under sills and trim, so flashing has to be lapped correctly in every direction, not just shedding water straight down.
- Salt-laden air accelerates corrosion on fasteners, hardware, and screen frames, and it can degrade some sealants faster than manufacturers' inland test data suggests.
- Persistent dampness from moss and algae growth on sills, trim, and lower siding courses keeps wood and cellulose-based trim wet longer, which matters if any organic material sits against the window flange without a drainage gap.
None of this means special exotic products are required. It means ordinary best practices — sill pans, proper flashing laps, a drainage plane behind the siding — can't be skipped or rushed, because this climate finds every gap.
What a Correct New-Construction Window Installation Involves
The Rough Opening Comes First
Before a window ever gets set, the rough opening needs to be square, plumb, and properly sized with the right margin for shimming. Framers occasionally leave openings out of square by enough to matter, and that gets caught and corrected before the window goes in — not discovered after.
Sill Pan Flashing
A sloped or pre-formed sill pan under the window creates a dedicated drainage path for any water that gets past the window itself, directing it back out over the exterior face of the wall instead of into the framing. In a climate with as much sideways rain as this one, a sill pan isn't optional — it's the single most important detail in the whole installation.
Flange Integration with the Weather-Resistive Barrier
The window's nailing flange has to be woven into the house wrap or building paper in the correct shingle-lap order: sill flashing first, then the sides, then the head flashing last, each layer lapping over the one below it. Done out of order, water that reaches the wrap gets directed behind the flange instead of over it.
Head Flashing
A separate head flashing above the window, ideally with a small drip cap, breaks the path of water running down the wall before it ever reaches the top of the window. This is one of the most commonly skipped details on production-built homes, and it's one of the cheapest details to get right at the framing stage.
Sealant — Used Correctly, Not Everywhere
Sealant is a backup, not a substitute for correct flashing. It goes at specific joints, not as a bead around the entire perimeter, because a fully sealed perimeter can trap water inside the wall assembly instead of letting it drain.
New-Construction vs. Replacement Windows: Why It Matters for Your Project
New-construction windows have a flange designed to be fastened to the sheathing and integrated with the WRB before siding goes on. Replacement (pocket) windows are built without that flange, sized to slide into an existing frame that's staying in place. Using the wrong type — or having a crew install a new-construction window like a replacement, sealant-only, without proper flange integration — is a common source of the moisture problems that show up years later. For a new build, addition, or any project where the wall is open down to the studs, new-construction windows installed with full flange integration are the correct approach, and it's worth confirming with your contractor which method they're planning to use before work starts.
Choosing a Frame Material for a Coastal, Wet Climate
Frame material is a real decision for York homes, not just an aesthetic one. Here's how the common options compare for this climate specifically:
| Frame Material | Coastal / Salt-Air Suitability | Maintenance | Typical Cost Position |
|---|---|---|---|
| Vinyl | Good — won't corrode or rot; UV-stable modern formulations hold up well | Low — occasional cleaning | Lower to mid |
| Fiberglass | Very good — dimensionally stable, resists moisture and salt exposure, minimal expansion/contraction | Low | Mid to higher |
| Aluminum-clad wood | Fair to good — clad exterior resists weather, but any breach exposes wood to moisture and requires prompt attention | Moderate — exterior low, interior wood needs occasional care | Higher |
| Bare aluminum | Weaker fit for this climate — conducts cold, prone to condensation, and hardware can corrode faster in salt air | Moderate to high | Lower to mid |
We don't push one brand or material on every project — the right call depends on your budget, the home's design, and how close to the water it sits. What we won't do is install a frame material into a coastal opening without being upfront about its long-term maintenance trade-offs, especially for lower-lying trim and sill areas that stay damp longest through moss season.
Our Process for York New-Builds and Additions
- Site visit and rough opening check. We confirm openings are framed correctly before scheduling install, and flag any issues back to the builder or framer early rather than working around them.
- Material and sizing confirmation. We verify window sizes, swing/operation direction, and frame material against the plans before anything ships or gets installed.
- Sill pan and flashing installation. Sill pans go in first, followed by the shingle-lap flange integration with the WRB — sides, then head flashing.
- Window setting and shimming. Windows are set square and plumb, shimmed at the manufacturer's specified points, and fastened per the manufacturer's schedule — not just wherever's convenient.
- Sealant at the correct joints only. Backer rod and sealant go where they belong, leaving the designed drainage path open.
- Final check and photo documentation. Before siding closes the wall up, we document the flashing and flange work — the one point in the build where these details are visible and easy to verify.
Installation Checklist
If you're comparing bids or just want to know what "correct" looks like, this is what should be happening on your project:
- Rough opening checked for square and plumb before the window is set
- Sloped or pre-formed sill pan flashing installed under every window
- Flange integrated with the WRB in proper shingle-lap order (sill, sides, head)
- Separate head flashing or drip cap above the window
- Sealant used only at specified joints, not as a full perimeter seal
- Fasteners rated for coastal/exterior exposure to resist salt-air corrosion
- Drainage path behind the siding left open, not blocked by trim or sealant
- Photo documentation of flashing before siding closes the wall
Why a Crew That Already Works in York Matters
A lot of window problems in this region trace back to installers applying a generic, drier-climate approach to a coastal Whatcom County wall. Crews who work in and around York regularly know which details actually get tested by this climate — the sideways rain during winter storms, the months of damp moss season, the salt exposure closer to the water — versus which details are just good general practice. That local repetition is what catches the small things: which fastener finishes actually hold up here, how much lap flashing really needs given the prevailing wind and rain direction, and where extra attention at sills and trim pays off over the life of the window.
It also matters for scheduling and permitting. Whatcom County and City of Bellingham requirements can come into play depending on the scope of your project, and a crew that's pulled permits and passed inspections on similar York-area work knows what inspectors are going to look for at the flashing stage — before it's covered by siding and impossible to check without opening the wall back up.
After Installation: What Homeowners Should Watch For
Once your windows are in and the siding is closed up, there's not much ongoing maintenance required if the install was done right. It's still worth doing a simple annual check: look for any staining or soft spots on interior sills or trim, make sure exterior caulking hasn't cracked or pulled away, and keep an eye on moss or algae buildup directly against window trim, since sustained moisture contact anywhere is worth clearing rather than ignoring. None of that should be necessary to keep the window functioning — it's just a good habit in a climate like this one.
If you're planning a new build, addition, or remodel in York and want windows installed the way this climate actually requires, we're happy to walk the site and give you a straightforward, no-pressure estimate — just fill out the form below.