 Bellingham Siding
 Window Installation Built for Birchwood's Climate
Windows fail less often because of the window itself than because of how it was set into the wall. That's especially true in Birchwood, where salt-tinged marine air, driving rain that rarely falls straight down, and a moss season that can stretch across most of the year all put steady pressure on the seams and transitions around every window opening. A window installation that looks fine on move-in day can still leak within a couple of wet seasons if the flashing, air sealing, and drainage details underneath the trim weren't handled correctly.
This page focuses specifically on window installation for homes in and around Birchwood, in Bellingham and Whatcom County — what the local climate actually demands from an install, what separates a correct job from a rushed one, and how we run the process from the first site visit through final cleanup. It's written for homeowners planning new construction windows, a full-house replacement, or even just a handful of problem windows, who want to understand what they're actually paying for.
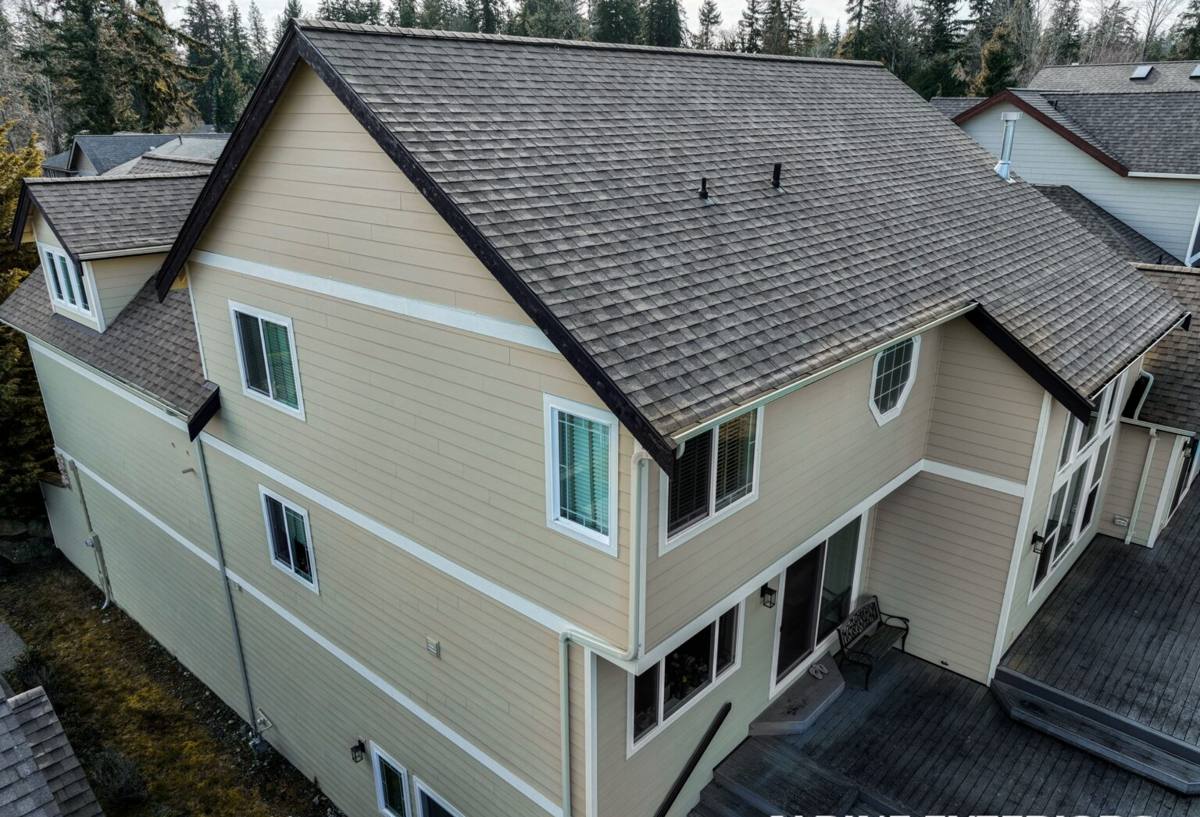
What Birchwood's Climate Demands From an Installation
Wind-Driven Rain
Storms moving through this part of Whatcom County routinely push rain sideways into wall assemblies rather than letting it run straight down and off. For a window, that means water gets driven into gaps and seams that would rarely see moisture in a calmer climate. The window unit itself has almost nothing to do with whether that water gets stopped — that job belongs to the flashing and how it's integrated with the surrounding weather-resistive barrier.
Salt Air and Hardware Corrosion
Marine-influenced air carries enough salt inland to accelerate corrosion on lower-grade fasteners, hinges, and locking hardware over time. It's slow and easy to miss until a window starts sticking, or a hidden fastener behind the trim has already rusted through. Hardware and fasteners rated for coastal exposure cost a little more up front and matter a lot more here than they would in a drier inland climate.
A Long Moss Season
Mild, damp conditions across most of the year give moss and mildew a long runway to take hold, and window sills, trim, and the framing around older or poorly sealed openings are common places it shows up first. Anywhere water sits instead of draining away becomes a growth surface eventually. Shaded elevations and windows tucked under eaves with poor drainage tend to show it earliest and worst.
Condensation From Temperature Swings
The gap between a heated interior and a cold, wet exterior creates real condensation pressure on glass and frames through the wetter months. That shows up as fogged glass, moisture beading on interior sills, or a slightly damp smell near older windows — usually a sign of a failed seal or a poorly installed unit, not just normal winter weather.
New Construction vs. Replacement Installation
"Window installation" covers more than one type of job, and the method matters as much as the window itself. New construction (full-frame) installation removes the window down to the rough opening and rebuilds the flashing and water management from scratch. Insert, or pocket, replacement fits a new window into the existing frame, which is faster and less invasive but depends entirely on that existing frame and flashing still being sound.
| Installation Type | What It Involves | Best Fit For |
|---|---|---|
| New Construction (Full-Frame) | Removes window and existing frame down to the rough opening; flashing and weather barrier rebuilt from scratch | New builds, additions, or existing openings with frame or flashing damage |
| Insert (Pocket) Replacement | New window fits inside the existing frame, which stays in place | Existing openings with a sound, dry frame and no flashing problems |
| Retrofit With New Flashing | A middle path — some trim and siding removed to correct flashing without a full frame rebuild | Openings with minor water intrusion history but an otherwise usable frame |
The honest answer to "which one do I need" almost always depends on what we find once trim and siding are pulled back around the opening, not on a preference stated ahead of time. We check the condition of the existing frame and flashing before recommending one method over another, because guessing wrong here is exactly how a window ends up leaking again within a few years.
What a Correct Installation Actually Involves
A window installation is a system, not a single step, and skipping or rushing any layer of it is where problems start.
Rough Opening Prep
Before a new window goes in, the rough opening gets checked for square, level, and any hidden rot or moisture damage in the surrounding framing. Setting a window into an opening that's out of square or sitting on damaged framing sets the job up to fail regardless of how good the window itself is.
Flashing and Weather Barrier Integration
This is the detail that determines whether wind-driven rain stays out or finds its way in. Flashing has to lap correctly with the weather-resistive barrier already on the wall, directing water out and down rather than trapping it behind the window. Caulk has a role here, but it's a supplement to proper flashing, never a substitute for it.
Setting, Shimming, and Fastening
The window has to be set plumb, level, and square, then shimmed and fastened according to manufacturer specification. A window that's slightly racked in the opening will operate poorly and stress the seals around the glass from day one, shortening its working life well before it should need attention.
Insulation and Air Sealing
The gap between the window frame and the rough opening needs to be insulated and air sealed correctly, not stuffed with excess spray foam or left with gaps. Over-filling with foam can bow the frame and cause the window to operate poorly; under-filling leaves a draft path and a spot for condensation to form.
Trim, Sealant, and Final Detailing
Interior and exterior trim, sill pans, and final sealant beads finish the job, but only after everything underneath is done correctly. Trim that looks clean on a window with poor flashing behind it is cosmetic cover for a problem that's still there.
Choosing Windows for a Birchwood Home
We install vinyl and fiberglass window systems suited to a wet, mild coastal climate, and we walk homeowners through real trade-offs rather than pushing one brand as the only correct answer. What matters most for this area is a tight, well-engineered frame, glazing that handles both energy performance and condensation resistance, and hardware rated for sustained marine air exposure.
- Frame material: Vinyl and fiberglass both resist rot in a way uncladded wood frames don't, which matters given how much moisture this region carries through the year.
- Glazing package: Double or triple-pane options with low-E coatings help with energy performance in both directions and reduce interior condensation during cold, damp stretches.
- Hardware grade: Corrosion-resistant locks, hinges, and fasteners hold up longer against marine-influenced air than standard-grade hardware.
- Warranty structure: A manufacturer's product warranty is only as good as the installation behind it, which is why we stand behind our installation work as its own warranty, separate from the product coverage.
Cost Factors Worth Understanding
Two window installation bids for what looks like the same job can land far apart, and the gap is usually real scope, not padding on one side. Knowing what drives cost makes it much easier to compare estimates that look nothing alike on paper.
| Factor | What It Affects |
|---|---|
| Installation method (full-frame vs. insert) | Labor scope and how much of the existing flashing and frame gets rebuilt |
| Frame material and glazing package | Energy performance, condensation resistance, and expected lifespan |
| Flashing and water management detail | How reliably the opening sheds wind-driven rain over the long term |
| Number and size of openings | Total material and labor cost across the project |
| Existing frame or wall condition | Whether hidden rot or moisture repair adds to the base scope |
| Trim and siding integration | How much of the surrounding exterior finish has to be removed and rebuilt |
A written estimate that breaks these items out separately is worth far more than a single lump-sum number. It's reasonable to ask any contractor to walk through exactly what's included, line by line, before comparing two bids side by side.
How Our Process Works
- In-person inspection: We look at each opening in person, checking existing frame condition, flashing history, and drainage before recommending an installation method.
- Written estimate: You get an itemized bid covering installation method, window product, flashing scope, and finish work, not a single vague line item.
- Scheduling and lead times: Custom-sized windows often take several weeks to arrive, and we build that into the timeline up front rather than surprising you with it later.
- Removal and opening prep: Old windows come out, and the rough opening gets checked and repaired if there's hidden rot or moisture damage.
- Flashing, setting, and sealing: Each window is flashed, set square and plumb, insulated, and sealed to manufacturer specification.
- Trim, cleanup, and walkthrough: We finish trim and sealant work, then walk the finished job with you before calling it done.
Why Hiring a Crew That Already Works in Birchwood Matters
A crew that regularly installs windows in and around Birchwood has already seen how salt air corrodes underspecified hardware, how wind-driven rain finds gaps in poorly lapped flashing, and which window orientations hold moss and condensation longest through the wet months. That experience shows up in dozens of small decisions on every job — how much lap a flashing detail gets, how a sill pan is sloped, which hardware grade gets specified — decisions a crew unfamiliar with this specific coastal climate might not think to make at all.
It also matters after the job is finished. A workmanship warranty is only worth as much as the company standing behind it years down the road, and a contractor with an established, ongoing presence in the area is one you can actually reach if a question comes up later, rather than a name that's moved on somewhere else.
A Practical Checklist Before You Hire
- Does the estimate specify installation method (full-frame vs. insert), not just "new windows"?
- Is flashing and water management work explicitly written into the bid, not assumed?
- Do they check the existing rough opening and frame condition before quoting, rather than estimating blind?
- Do they carry current WA contractor licensing, liability insurance, and workers' compensation?
- Can they point to recent, real installation work in or near Birchwood?
- Does the bid clearly separate the manufacturer's product warranty from the contractor's own installation warranty?
If you're planning new construction windows, a full replacement, or just a handful of problem openings on a Birchwood property, we're glad to come take an honest, no-pressure look and put together a written estimate you can compare against anything else you've received. Use the form below to request a free estimate.