 Bellingham Siding
 New-Construction Windows for Puget-Area Builds
When a home is framed and open, the windows going in aren't just a product choice — they're part of the building envelope. In the Puget area of Bellingham, that envelope has to hold up against salt-laden air off the water, long stretches of driving rain, and a moss season that keeps everything damp for months at a time. New-construction window installation is the one chance to get the flashing, the water-resistive barrier (WRB) integration, and the rough opening details right before siding and trim close everything up. Get it wrong here, and the mistake is hidden behind finish work for years until it shows up as a stain on drywall or soft framing at a sill.
This page is specifically about new-construction windows — units installed into open stud framing during a build or major addition — not window replacement in an existing wall. The two jobs share a goal but almost nothing else in terms of technique, sequencing, or what "correct" looks like.
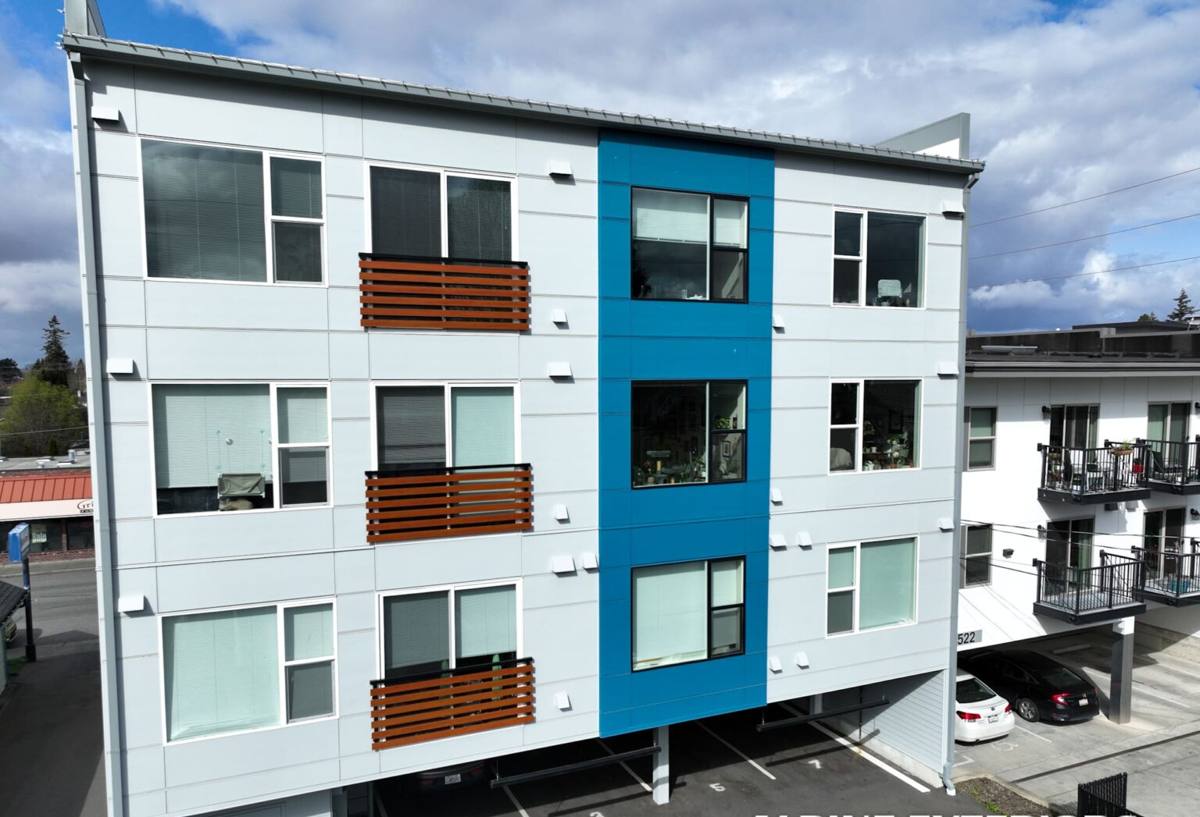
Why New-Construction Windows Are a Different Job Than Replacement
A true new-construction window has a nailing flange (fin) around the perimeter that gets integrated directly with the WRB and flashing tape while the wall is still open. That's an advantage — done correctly, it's the most reliable, most weathertight way to install a window, because every layer is visible and sequenced in the right order. There's no guessing what's behind an existing wall, no working around old caulk or rotted framing.
The trade-off is that there's zero margin for skipping steps. A replacement window installer working on an occupied home is often solving for "make this watertight from what's already there." A new-construction crew is building the water management system from scratch — sill pan, jamb flashing, head flashing, and WRB lap — in the correct shingle-style order so water always sheds outward and down, never inward or behind a lower layer.
What Correct Sequencing Looks Like
- Rough opening checked for square, level, and correct dimensions before the window ever arrives on site
- Sill pan flashing installed first, sloped or dammed so any water that gets in is directed back outside
- Window set, shimmed, and fastened per the manufacturer's structural and weatherproofing instructions — not just "however it fits"
- Jamb flashing tape applied over the side flanges, lapping the sill pan correctly
- Head flashing installed last, lapping over the WRB above so the whole assembly sheds water like shingles on a roof
- WRB integrated back over the flanges in the right order, with no reverse laps anywhere
What Puget's Climate Asks of a Window Installation
Bellingham and Whatcom County sit close enough to the water that salt air is a real factor on hardware, fasteners, and finishes over time — it accelerates corrosion on anything not rated for a marine-influenced climate. Add driving rain that comes in sideways during winter storms, and any weakness in the flashing sequence turns into a wind-driven leak instead of a slow drip. Then there's moss season — the long stretch of cool, damp months where anything that stays wet, stays wet, encouraging moss and algae growth on siding, trim, and window sills that don't get enough sun or airflow to dry out between rains.
For a Puget-area new build, that combination means:
- Corrosion-resistant fasteners and flashing components, not standard-grade hardware that's fine in a drier inland climate
- A sill pan and sloped sill detail on every window, not just the ones facing prevailing weather — wind off the water doesn't always come from one direction
- Flashing tape and sealants rated for cold, wet application windows, since a lot of framing work here happens in temperatures and humidity that some products aren't designed to bond in
- Trim and cladding details around each window that don't trap moisture against the frame, which matters more here than in drier parts of the state given how long things stay damp
Choosing Window Materials and Glass for This Climate
Vinyl, fiberglass, and wood-clad windows are all viable in Whatcom County, but they behave differently in a wet, salt-influenced climate, and it's worth understanding the trade-offs before a builder or homeowner locks in a spec.
| Material | How It Handles This Climate | Maintenance |
|---|---|---|
| Vinyl | Won't rot or corrode; performs well against moisture and salt air | Low — occasional cleaning |
| Fiberglass | Very stable in temperature swings and moisture; strong long-term option near the water | Low |
| Wood-clad | Good look, but exposed wood on interior or any exposed end-grain needs protection from prolonged damp | Higher — finish upkeep, especially in moss season |
| Aluminum-clad | Durable exterior skin, but must be paired with a good thermal break to avoid condensation in cold, wet conditions | Moderate |
Glass packages matter as much as frame material here. A double-pane, low-E unit with a warm-edge spacer is the practical minimum for Whatcom County's cool, wet winters — it cuts down on interior condensation, which is a bigger nuisance in a marine climate than in a dry one. Argon fill and a slightly higher-performance low-E coating are worth the modest upcharge on a new build, since it's far cheaper to spec the right glass now than to upgrade windows later.
Our Process on a Puget New-Construction Job
We've worked enough new builds and additions in the Puget area of Bellingham to know the rough opening quirks that show up in this part of the county — framing crews, lumber moisture content, and site drainage all vary, and we check for that instead of assuming a textbook opening.
- Rough opening inspection — verify size, square, and structural framing before scheduling delivery
- Flashing plan walkthrough — confirm WRB type, flashing tape compatibility, and sill pan approach for each opening, since not every WRB and tape combination bonds the same way
- Install and flash in sequence — sill pan, window set and shim, jamb flashing, head flashing, WRB lap-back, in that order, on every opening
- Fastening and structural check — confirm shim placement and fastening meet the window manufacturer's specs so warranty coverage stays intact
- Weather seal and documentation — photos of the flashing sequence before it's covered by siding or trim, so there's a record of what's behind the finished wall
What Drives Cost on a New-Construction Window Job
| Factor | Why It Matters |
|---|---|
| Number and size of openings | More openings and larger units mean more flashing detail work, not just more window cost |
| Window material and glass package | Vinyl runs lower up front; fiberglass and upgraded glass cost more but reduce long-term maintenance in this climate |
| Wall assembly complexity | Rain-screen assemblies, thicker wall systems, or unusual siding transitions add install time |
| Site access and stage of construction | Coordinating with framing and siding crews on an active job site affects scheduling and efficiency |
| Flashing and WRB materials specified | Higher-grade tapes and pan flashing cost more per opening but matter more here than in a drier region |
Broad ranges vary a lot by home size and window count, so the honest answer is that a walk-through of the plans or framed structure gives a far more useful number than any per-window average.
A Practical Checklist Before Windows Go In
- Rough openings measured and squared against the actual window schedule, not just the plans
- WRB installed and lapped correctly before window delivery, with no gaps at corners
- Sill pan flashing specified for every opening, sloped to drain outward
- Flashing tape confirmed compatible with the WRB brand and rated for cold, damp application
- Fastener and hardware grade confirmed as corrosion-resistant for a marine-influenced climate
- Photo documentation planned before siding or trim covers the flashing work
Why a Crew That Already Works Puget Matters
New-construction window flashing is unforgiving work — it either sheds water correctly for decades or it fails quietly behind finished walls. A crew that already works in the Puget area of Bellingham has seen how the local combination of salt air, driving winter rain, and moss-season dampness plays out on real jobs, and builds the flashing sequence with that in mind rather than treating every install the same regardless of climate. That familiarity shows up in small decisions — which flashing tape actually bonds in a cold, damp week, how much slope a sill pan needs given local wind patterns, where moisture tends to collect on a given wall orientation — that don't show up in a manufacturer's install manual but matter a great deal in Whatcom County.
If you're planning a new build or addition in the Puget area and want windows installed right the first time, we're glad to walk the framed structure or plans with you and put together a straightforward estimate — no pressure, just a clear look at what your project actually needs. The form below gets you started.