 Bellingham Siding
 Building New in Birchwood Means Building for Bellingham's Weather
Birchwood sits close enough to the water and the tree line that new homes here take on a specific set of challenges the moment framing goes up. Salt-laden air off Bellingham Bay works on metal components over time. Driving rain during fall and winter storms tests every seam around a window opening before drywall ever goes up. And the long, damp moss season that Whatcom County is known for doesn't just grow on roofs — it finds a foothold in any spot where trim, sealant, or flashing was rushed. New-construction windows are the first line of defense against all three, and if they're installed wrong, you won't see the problem until it's already inside the wall.
Unlike a replacement window going into an existing opening, new-construction windows are set into a bare rough opening before siding, trim, or sometimes even the weather-resistant barrier is fully in place. That means the window installer isn't just hanging a unit — they're building the water-management system for that opening from scratch. Get it right during framing, and the house stays dry for decades. Get it wrong, and you're chasing rot behind the trim in five to ten years.
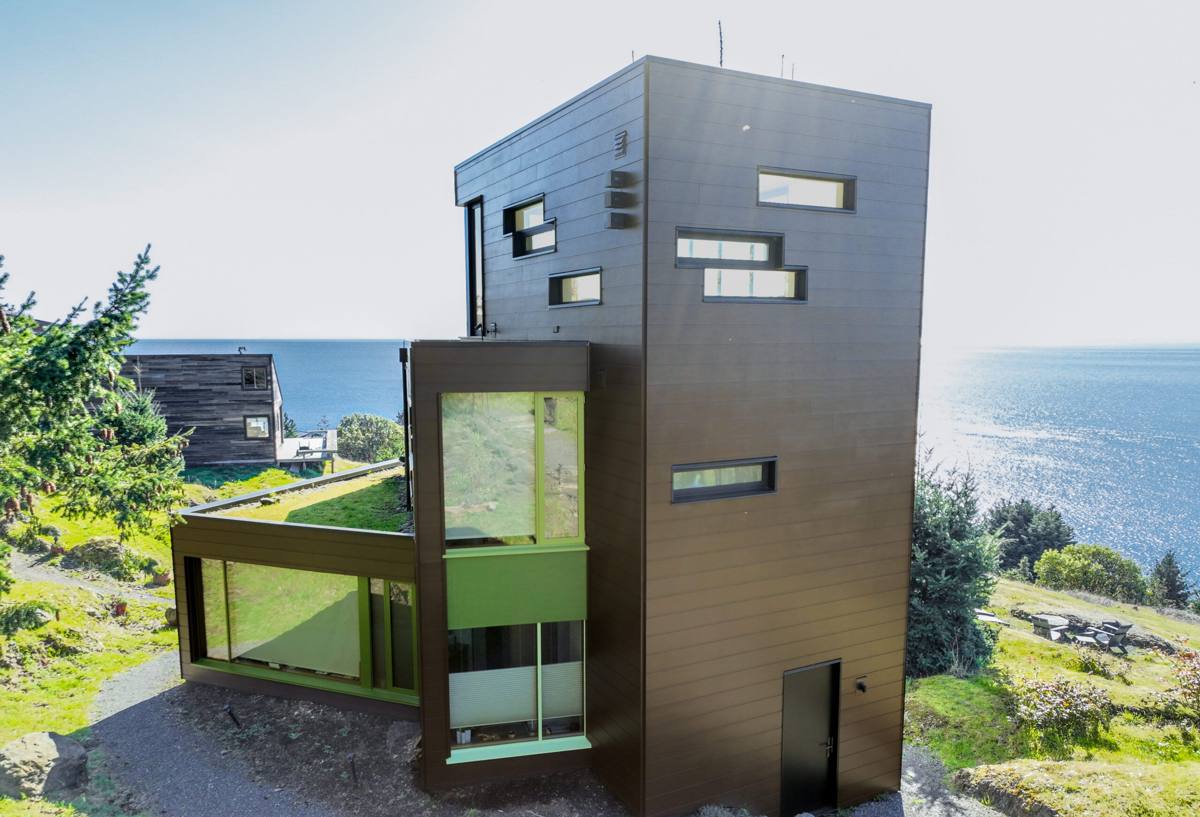
New-Construction vs. Replacement Installation: Why the Method Changes Everything
A lot of homeowners assume a window is a window. The install method is actually the bigger factor in long-term performance than the window unit itself.
- Replacement windows go into an existing, already-flashed opening — the installer works around trim and siding that's staying put.
- New-construction windows use a nailing flange (fin) that fastens directly to the sheathing, and the installer controls the entire flashing sequence — sill pan, side flashing, head flashing, and how it all laps with the weather-resistant barrier.
- Because the wall isn't closed up yet, there's more room to do the job correctly — but also more ways to get it wrong if the crew doesn't follow a consistent sequence.
On a new build in Birchwood, this is the one chance to get the water path right before it's buried behind siding for the next 30-plus years. There's no going back to fix a bad sill pan after the drywall's painted.
What a Correct Installation Actually Involves
A properly installed new-construction window isn't just nailed to the studs and caulked around the edges. There's a specific order of operations that keeps water moving out and away from the framing, not into it:
1. Sill Pan First
Before the window ever touches the opening, the rough sill gets a sloped, waterproof pan — either a manufactured flashing pan or a properly lapped flexible membrane. This is the single most important step in the whole install. If water ever does get past the window (and eventually, in this climate, it will find a way), the sill pan is what carries it back outside instead of into the framing.
2. Weather-Resistant Barrier Integration
The WRB (housewrap or equivalent) has to be cut and lapped in the correct order around the opening — bottom, sides, then top — so every layer sheds water onto the layer below it, never the reverse. This is called shingle-style lapping, and it's the difference between a wall that drains and a wall that traps.
3. Setting and Fastening the Window
The unit gets shimmed level, plumb, and square, then fastened through the nailing flange per the manufacturer's schedule. Over- or under-fastening both cause problems — too few fasteners and the flange can pull away in wind; too many, driven too tight, can bow the frame and affect how the sash operates.
4. Flashing Tape and Sealant
Flashing tape seals the flange to the WRB on the sides and top (never fully sealed at the bottom sill, which needs to stay able to drain). Sealant goes where the manufacturer specifies — not just wherever looks reasonable.
5. Backer Rod and Interior Air Sealing
On the interior, the gap between the frame and rough opening gets air-sealed with low-expansion foam or backer rod and sealant — this controls condensation and drafts without restricting the window's ability to move slightly with seasonal temperature changes.
Choosing a Window Frame Material for a Birchwood New Build
Frame material matters more here than it would in a drier inland climate, because whatever you choose is going to sit in near-constant moisture and periodic salt exposure for its entire service life.
| Frame Material | How It Handles This Climate | Maintenance | Typical Fit |
|---|---|---|---|
| Vinyl | Won't rot or corrode; expands/contracts with temperature swings | Low — occasional cleaning | Most new builds; strong value |
| Fiberglass | Very stable dimensionally, holds paint well, resists moisture | Low | Higher-end new builds, larger openings |
| Wood-clad | Interior wood warmth with an exterior clad shell; clad has to stay fully intact to protect the wood beneath | Moderate — clad seams and any exposed wood need monitoring | Traditional or high-design homes |
| Aluminum | Strong but a poor thermal performer and prone to condensation in our damp, cool winters | Moderate | Rarely our first recommendation for residential builds here |
We don't push one brand over another — we size the recommendation to the home's design, budget, and how exposed that particular elevation is to wind-driven rain. A north- or west-facing wall in Birchwood that catches weather straight off the water deserves a more forgiving frame and glass package than a sheltered south wall.
Glass Packages Worth Considering
- Double-pane, low-E glass is the baseline for new construction in this climate.
- Triple-pane adds real value on exposed elevations and around larger openings, cutting condensation risk and improving comfort near the glass in winter.
- Argon or krypton gas fill between panes improves insulating performance at a modest cost.
- Look for whole-window U-factor and Solar Heat Gain Coefficient (SHGC) ratings suited to a marine climate — your builder or window supplier can confirm what's appropriate for the home's orientation.
Our Process on a New-Construction Job in Birchwood
- Plan review: We look at window schedules, rough opening sizes, and elevations before framing is even finished, so there are no surprises on install day.
- Rough opening check: We verify every opening is square, plumb, and correctly sized before setting any windows — catching framing errors now is far cheaper than after siding goes on.
- Sill pan and WRB sequencing: Installed per manufacturer instructions and coordinated with whoever is running housewrap, so laps are done in the right order the first time.
- Setting, fastening, and flashing: Windows are set, shimmed, fastened, and flashed following a consistent sequence on every opening — not left to individual judgment call by call.
- Quality check before siding: We walk every opening before the crew closes the wall with siding, because that's the last point where a flashing mistake is cheap to fix.
- Interior finish coordination: We work with your builder or trim carpenter on interior air sealing and finish so the window performs correctly on both sides of the wall.
Mistakes We Commonly See on New Builds — and Avoid
- Skipping or shortcutting the sill pan — the most common source of hidden rot in framed openings.
- Reverse-lapped WRB — housewrap tucked in the wrong order so water gets funneled behind the barrier instead of over it.
- Fully sealing the bottom flange — trapping any water that does get in with no way out.
- Over-driven fasteners — bowing the frame and causing sash operation or seal problems that show up years later.
- Mismatched flashing tape — using a generic tape that isn't compatible with the specific WRB or window flange material, leading to poor adhesion over time.
Cost Factors for New-Construction Window Installation
| Factor | Why It Affects Cost |
|---|---|
| Number and size of openings | More and larger windows mean more flashing detail work and material |
| Frame material and glass package | Vinyl, fiberglass, and wood-clad carry different unit costs; triple-pane adds cost over double-pane |
| Elevation exposure | Walls facing prevailing wind-driven rain often warrant extra flashing detail or upgraded sealants |
| Opening complexity | Bays, corners, and odd-shaped or oversized openings take more time to flash correctly |
| Coordination with other trades | Tight scheduling with framers and siding crews affects labor efficiency |
We give straightforward, itemized estimates based on your actual window schedule rather than a flat per-opening number, since a bay window and a standard bedroom window take very different amounts of time to do right.
A Checklist Before You Hire for a New Build in Birchwood
- Does the contractor install a dedicated sill pan on every opening, not just caulk and hope?
- Can they explain their WRB lapping sequence without hesitation?
- Do they follow the specific manufacturer's fastening and flashing instructions for the window brand you've chosen?
- Will they inspect openings before siding closes the wall, and is that documented?
- Do they coordinate directly with your framer, siding crew, and general contractor rather than working in isolation?
- Are they familiar with Whatcom County building department requirements for your project?
Why a Crew That Already Works Birchwood Matters
New-construction window installation isn't a one-person job — it touches framing, housewrap, siding, and trim, and it has to be sequenced correctly with all of them. A crew that regularly works Birchwood and greater Bellingham already knows how local builders sequence their trades, understands which elevations in this part of Whatcom County take the worst of the wind-driven rain off the bay, and has already seen how moss and moisture behave on homes here over multiple seasons. That local pattern recognition is what catches a marginal detail before it becomes a callback five years down the road — not a generic install checklist applied the same way everywhere.
If you're framing a new home in Birchwood or working with a builder who needs a window subcontractor who won't slow down the schedule, we'd be glad to walk your plans and give you a straightforward, no-pressure estimate. Fill out the form below and we'll follow up to talk through your window schedule and openings.