 Bellingham Siding
 Building New in Birch Bay: Why Window Choice Matters From Day One
If you're framing a new home in Birch Bay, the windows you choose and how they're installed will quietly determine how that house performs for the next 20-30 years. Unlike a replacement job, where a crew is working around an existing wall assembly, new construction gives you one real shot at getting the flashing, the fastening, and the weather barrier integration right before the siding and interior finishes cover it all up. Get it right and you won't think about your windows again for decades. Get it wrong and you're chasing rot, drafts, and stains behind walls that are now finished and expensive to open back up.
Birch Bay sits right on the water, which means the building envelope here takes on a different job than a house a few miles inland in Bellingham. Salt air, wind-driven rain off the Strait, and a long stretch of damp, low-sun months all put more demand on window flashing and sealants than a typical dry-climate build. This page walks through what that means specifically for new-construction windows, what a correct install actually involves, and how our process is built around the conditions Birch Bay homes actually face.
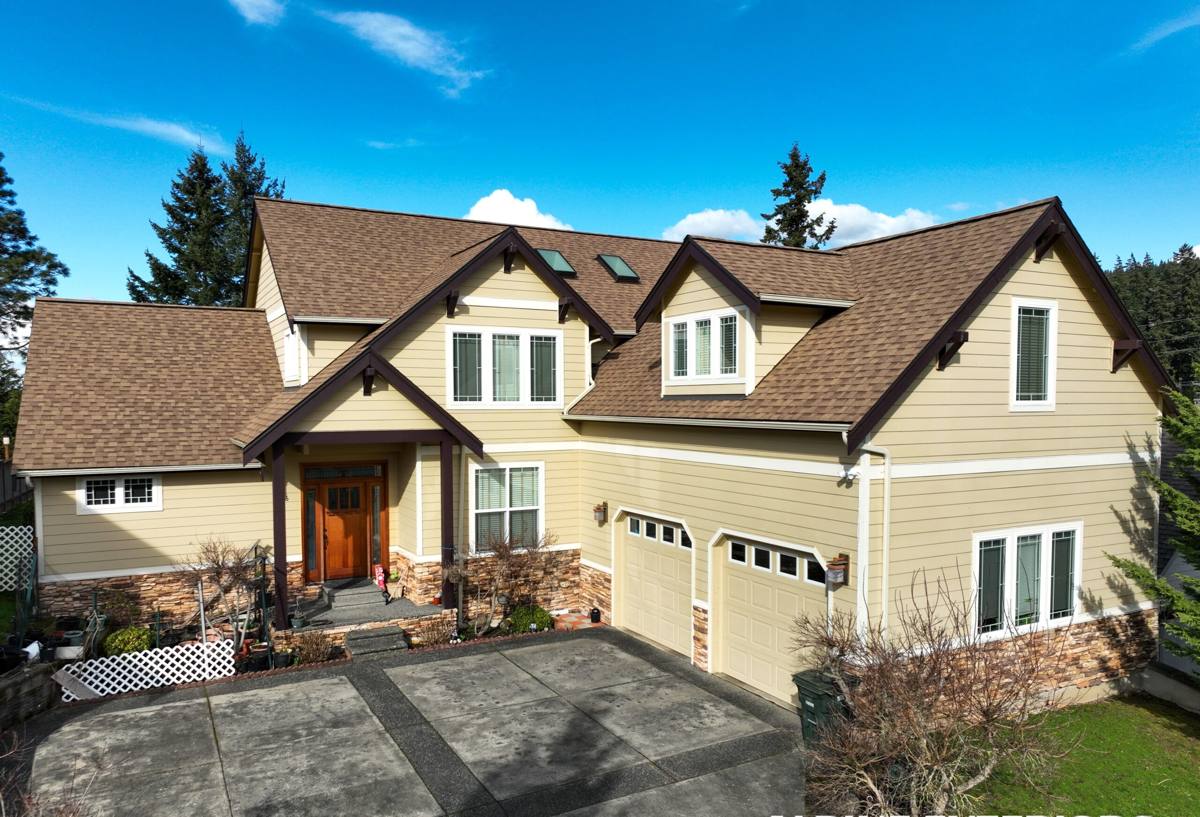
What Birch Bay's Climate Does to Windows Over Time
Salt Air and Corrosion
Homes close to the shoreline in Birch Bay are exposed to airborne salt that settles on exterior surfaces and works into hardware, fasteners, and unprotected metal over time. It's slower and less dramatic than storm damage, but it's persistent. Window hardware, screen frames, and any exposed fasteners that aren't rated for coastal exposure will corrode faster here than they would on the same house set back from the water. This is one of the reasons fastener and hardware selection matters more in Birch Bay than it does on a typical inland Whatcom County lot.
Driving Rain and Wind-Driven Moisture
Storms coming off the water don't just drop rain straight down — they push it sideways, and sideways-driven rain finds every gap in a window opening that vertical rain would never reach. A flashing detail that would be "good enough" on a sheltered inland wall can fail on a Birch Bay elevation that takes wind and rain head-on. That's why the flashing sequence around a new-construction window opening isn't a place to cut corners or substitute a faster method.
Moss, Shade, and Prolonged Dampness
Whatcom County's long wet season keeps siding, trim, and sills damp for extended stretches, and shaded or north-facing walls stay that way even longer. Moss and mildew growth around window perimeters is usually a sign that water is sitting somewhere it shouldn't — often at the sill or in a poorly lapped weather-resistive barrier. On a new build, the fix is prevention: correct sill pan drainage and shingle-lap flashing so water has nowhere to collect in the first place.
New Construction vs. Replacement: Why the Distinction Matters
These are two different products installed two different ways, and mixing them up on a new build leads to real problems. A new-construction window has a nailing flange designed to be integrated into the wall's weather-resistive barrier before siding goes on. A replacement window is built to fit into an existing frame with the old exterior trim staying in place. Using the wrong type — or installing the right type with replacement-style shortcuts — is one of the most common causes of early window failure we see corrected on other people's builds.
| Factor | New-Construction Window | Replacement Window |
|---|---|---|
| Flange | Nailing flange integrates directly with house wrap/WRB | No flange; relies on existing frame and trim |
| Flashing access | Full access to rough opening before siding is installed | Limited; must work around finished exterior |
| Best used when | Framing is open and exterior isn't finished yet | Existing siding/trim is staying in place |
| Failure risk if mismatched | Low, if flashed correctly per sequence | High if a replacement unit is forced into new framing |
What a Correct New-Construction Window Installation Involves
Flashing and Weather-Resistive Barrier Integration
The flashing sequence is the whole job, honestly. Sill pan flashing goes in first to create a sloped, drained pan under the window so any water that does get past the glass and frame has somewhere to go besides your framing lumber. Side flashing and head flashing are then integrated with the house wrap in the correct shingle-lap order — meaning each layer overlaps the one below it, so water is always directed outward and down, never into a seam.
Fasteners and Frame Materials for Coastal Exposure
Given the salt air along the water, we pay attention to fastener material and window hardware ratings on Birch Bay jobs specifically. It's a small line item that has an outsized effect on how the window operates and looks 10 years down the road.
Sealing and Air/Water Testing
Backer rod and sealant at the interior and exterior perimeter close off air leaks without trapping moisture inside the wall assembly — sealant placement matters as much as sealant quality here, since sealing the wrong layer can trap water instead of keeping it out. Once installed, we check that each unit operates correctly and that the perimeter seal is continuous before the crew moves on to siding.
Choosing the Right Window for a Birch Bay Build
Frame material is a real decision on a coastal build, not just a style choice. Here's how the common options compare for a Birch Bay exposure specifically.
| Frame Material | Coastal/Moisture Performance | Maintenance | Typical Investment |
|---|---|---|---|
| Vinyl | Good; won't corrode, some flex in wide temperature swings | Low | Lower |
| Fiberglass | Excellent; dimensionally stable, holds paint well near salt air | Low | Mid to higher |
| Aluminum-clad wood | Good exterior protection, but any cladding breach exposes wood to moisture | Higher; exterior clad, interior wood needs attention | Higher |
| Bare wood | Poor for direct coastal exposure without diligent upkeep | High | Varies |
We don't push one material on every job — the right call depends on the home's exposure, the design, and your budget. What we won't do is recommend a frame material that we know is a poor match for a shoreline-facing wall just because it's what's on hand. If a design calls for a material that needs more upkeep near the water, we'll say so up front rather than let you find out later.
Our Process for New-Construction Window Installs
- Rough opening check. We verify openings are square, plumb, and correctly sized before a single window arrives on site — catching framing issues now is far cheaper than after installation.
- Sill pan and flashing installation. Sloped sill pans go in first, followed by the full flashing sequence integrated with the house wrap.
- Window setting and fastening. Units are set plumb, level, and square, then fastened per manufacturer spec with hardware suited to the exposure.
- Head flashing and WRB lap. The weather-resistive barrier is lapped over the top flashing so water sheds outward, never behind the window.
- Interior and exterior sealing. Backer rod and sealant close the perimeter without trapping moisture in the wall cavity.
- Operation and seal check. Every window is opened, closed, and inspected before we sign off and the crew moves to siding.
A Homeowner's Checklist Before Windows Go In
If you're working with a builder or general contractor and want to make sure the window package is handled correctly, these are worth confirming before installation day:
- Windows are the correct new-construction type with an intact nailing flange, not a repurposed replacement unit
- Sill pan flashing is specified and sloped to drain outward
- Flashing sequence follows proper shingle-lap order with the house wrap
- Fastener and hardware materials are appropriate for a coastal, salt-air location
- Sealant is applied at the correct layer — not used as a substitute for proper flashing
- Each window's operation is checked and documented before siding covers the opening
Why Local Experience in Birch Bay and Whatcom County Matters
A window installed correctly in a dry inland climate can still fail on a Birch Bay lot if the crew doesn't adjust for wind-driven rain and salt exposure. That's not a knock on general contracting skill — it's just a different set of conditions than most builders see every day. Working regularly in Bellingham and along the Whatcom County coastline means we're flashing openings for this exposure routinely, not occasionally, and we've seen firsthand what happens when a flashing detail that works fine inland gets tested by a real Birch Bay storm. That familiarity shows up in the small decisions — sill pan slope, lap order, fastener choice — that don't show up on a spec sheet but decide whether the window is still performing well in fifteen years.
If you're planning a new build or an addition in Birch Bay and want windows installed to hold up against what this stretch of coastline throws at a house, we're happy to walk the plans with you. Reach out for a free, no-pressure estimate using the form below.